Table of Contents
Plan Your Trip Ahead for What to Bring to the Range
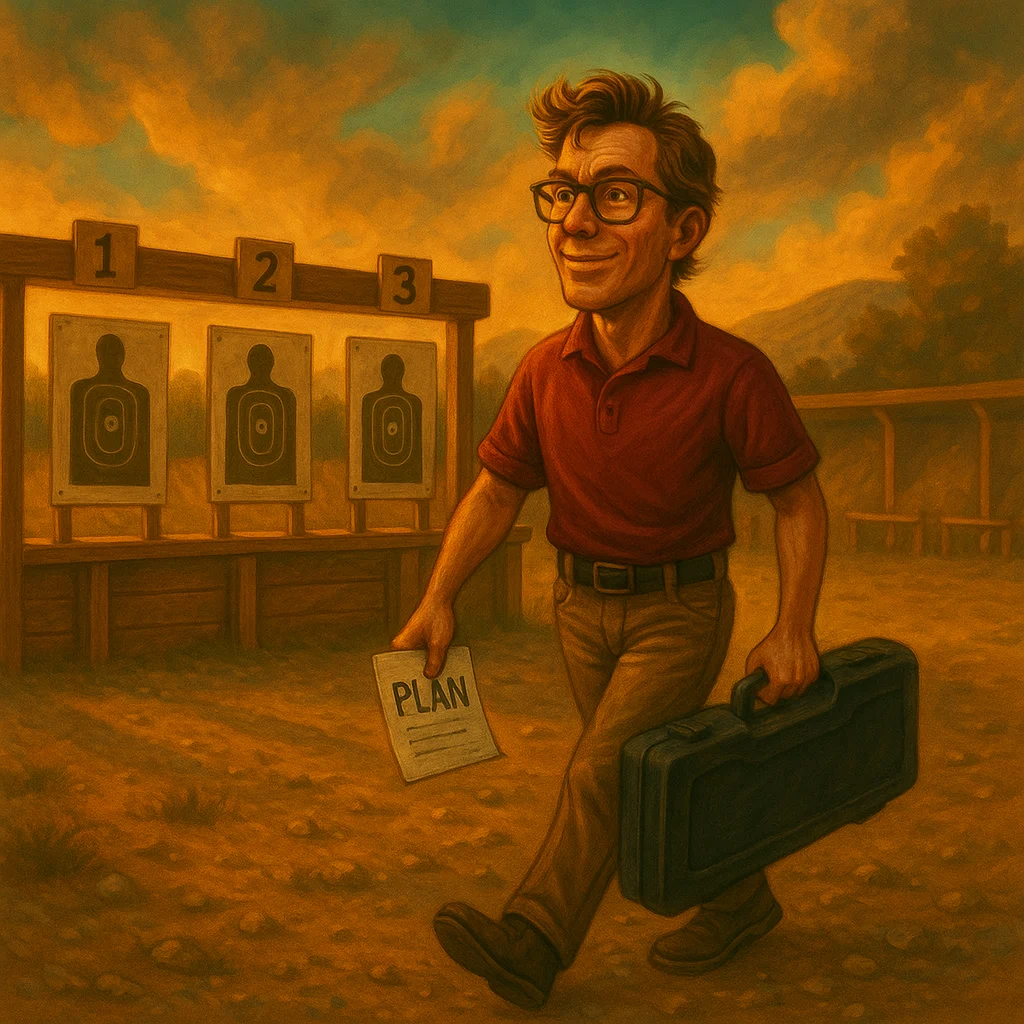
They say a plan is only good until the first shot is fired. One exception to this is when going to the range. The plan should be good as soon as you turn the ignition. When determining what to bring to the range, always have a game plan when you are going to the range.
Time is finite, and the keys to any successful trip are efficiency, clear goals, and ensuring you have the resources to accomplish the goals. For instance, if you’re going to work on fundamentals and grouping, and you forget your shooting bag, shooting mat, or bipod, this seemingly slight oversight can cascade into other problems that force you to “wing it”. This can cause you to end up grouping from a less-than-ideal position, which often leads to a less fruitful trip than anticipated.
Think of these questions as you plan:
- What primary goal do you want to accomplish?
- What would make this a successful trip?
- Will the conditions allow this goal to be accomplished?
Work backward, starting with checking the weather. While extreme conditions can make for a challenging shooting experience, is the skill you want to work on conducive to what the reality on the ground will be? If not, is there another skill or task you could focus on to take advantage of the given conditions?
Coordinate Your Goals and Gear Accordingly
Now that your goal has been defined, making sure you have the appropriate gear to accomplish those goals is next. As basic as this sounds, just as with the actual shooting part, we often overlook the fundamentals and wonder why we aren’t seeing results. Getting down to the lowest fundamental point, the nadir, to build a solid foundation, be it natural point of aim work to how painfully thorough and basic we are in planning what equipment to bring gives us solid footing to build from.
All too often you’ll arrive at the range to meet with buddies, or students, or fellow classmates and you’ll hear “I should have thought about bringing that,” or “Man, I totally forgot that,” or “what am I even doing here? My pistol’s on the kitchen counter at home!”.
Here are a few things to consider that are aligned with goal parameters and equipment coordination specific to Rifle Zeroing:
Getting your Rifle Zeroed:
This means many things to many different people, although in our opinion, it really shouldn’t. We’ve all seen the rush of the “zero-confirmation parade” right before deer season. Many will get “minute of deer” and call it a day. The gun will be accurate, but precision is nowhere to be found. Personally, getting as precise a zero as possible is tantamount to ensuring an ethical hunt or successful competition. I plan to zero in 3 different positions: prone, midway/kneeling, and standing. This forces me to verify zero in three different orientations to the rifle and work on the Natural Point of Aim throughout. I am also specific that I will zero at 100 yards with Diamond patterned targets, which provides an exacting point of reference. Everything I bring is based on this one goal when determining what to bring to the range.
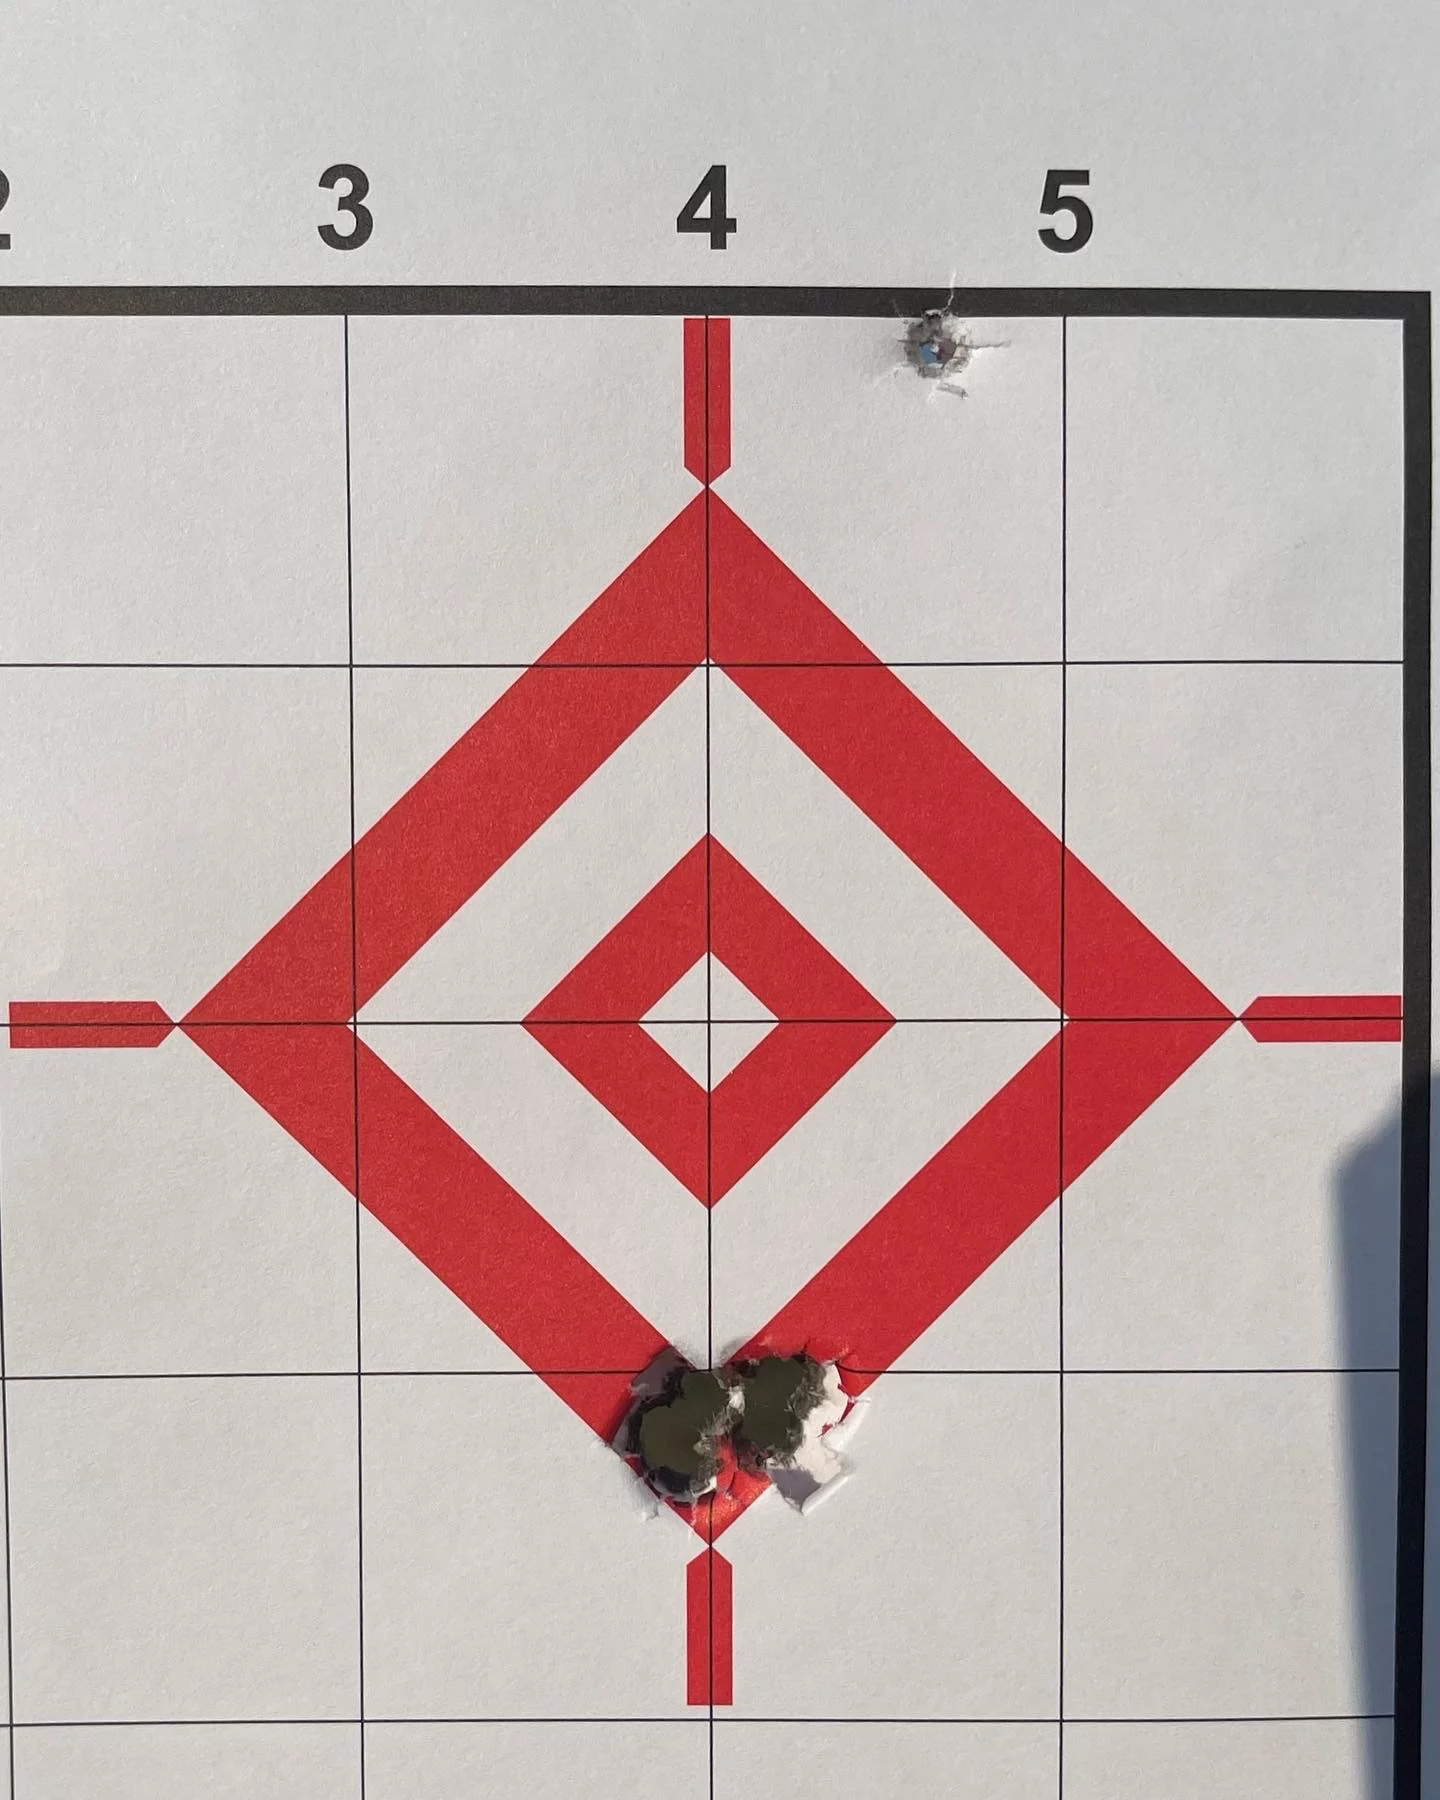
The above target point of aim was at the 6 O’Clock position. As an example, these groups for a 6.5 PRC shot group are showing just over a 1/4 MOA high.
Improving Fundamentals
Zeroing your rifle is a perfect time to work on your Natural Point of Aim. The prone position is fairly foundational to this task and might be the ideal position to start from. Choosing your shooting positions will allude to specific gear you should bring. Shooting mats, a Rear Bag, Bi-Pod, or Heavy Sandbag are all items that can assist in building up this position. Regarding the rifle itself, some hard foam, hundred-mile-an-hour tape, and similar items can help you fit the rifle to yourself in better ways.
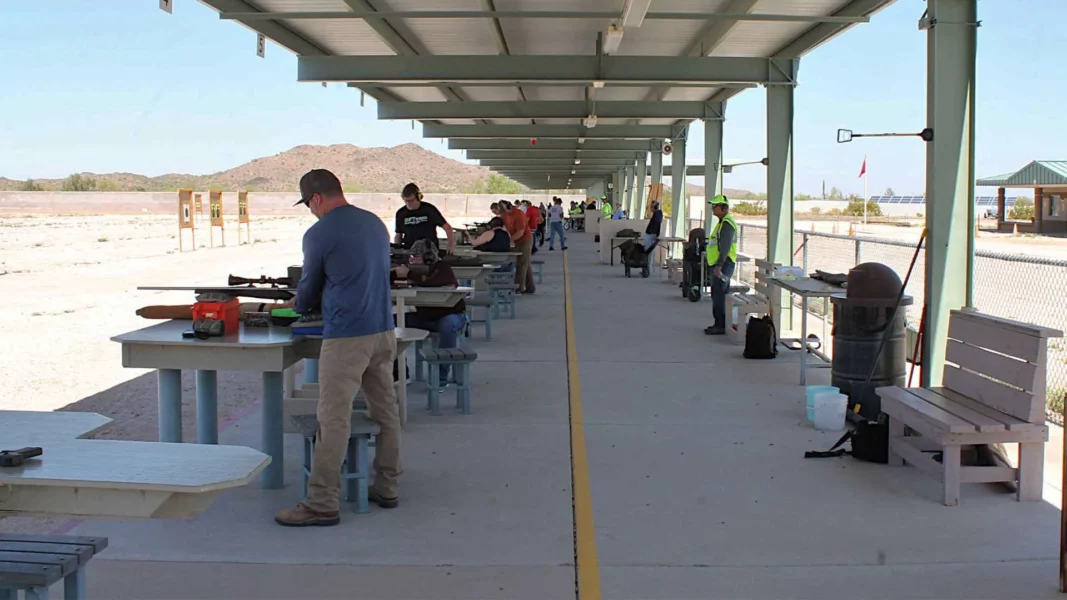
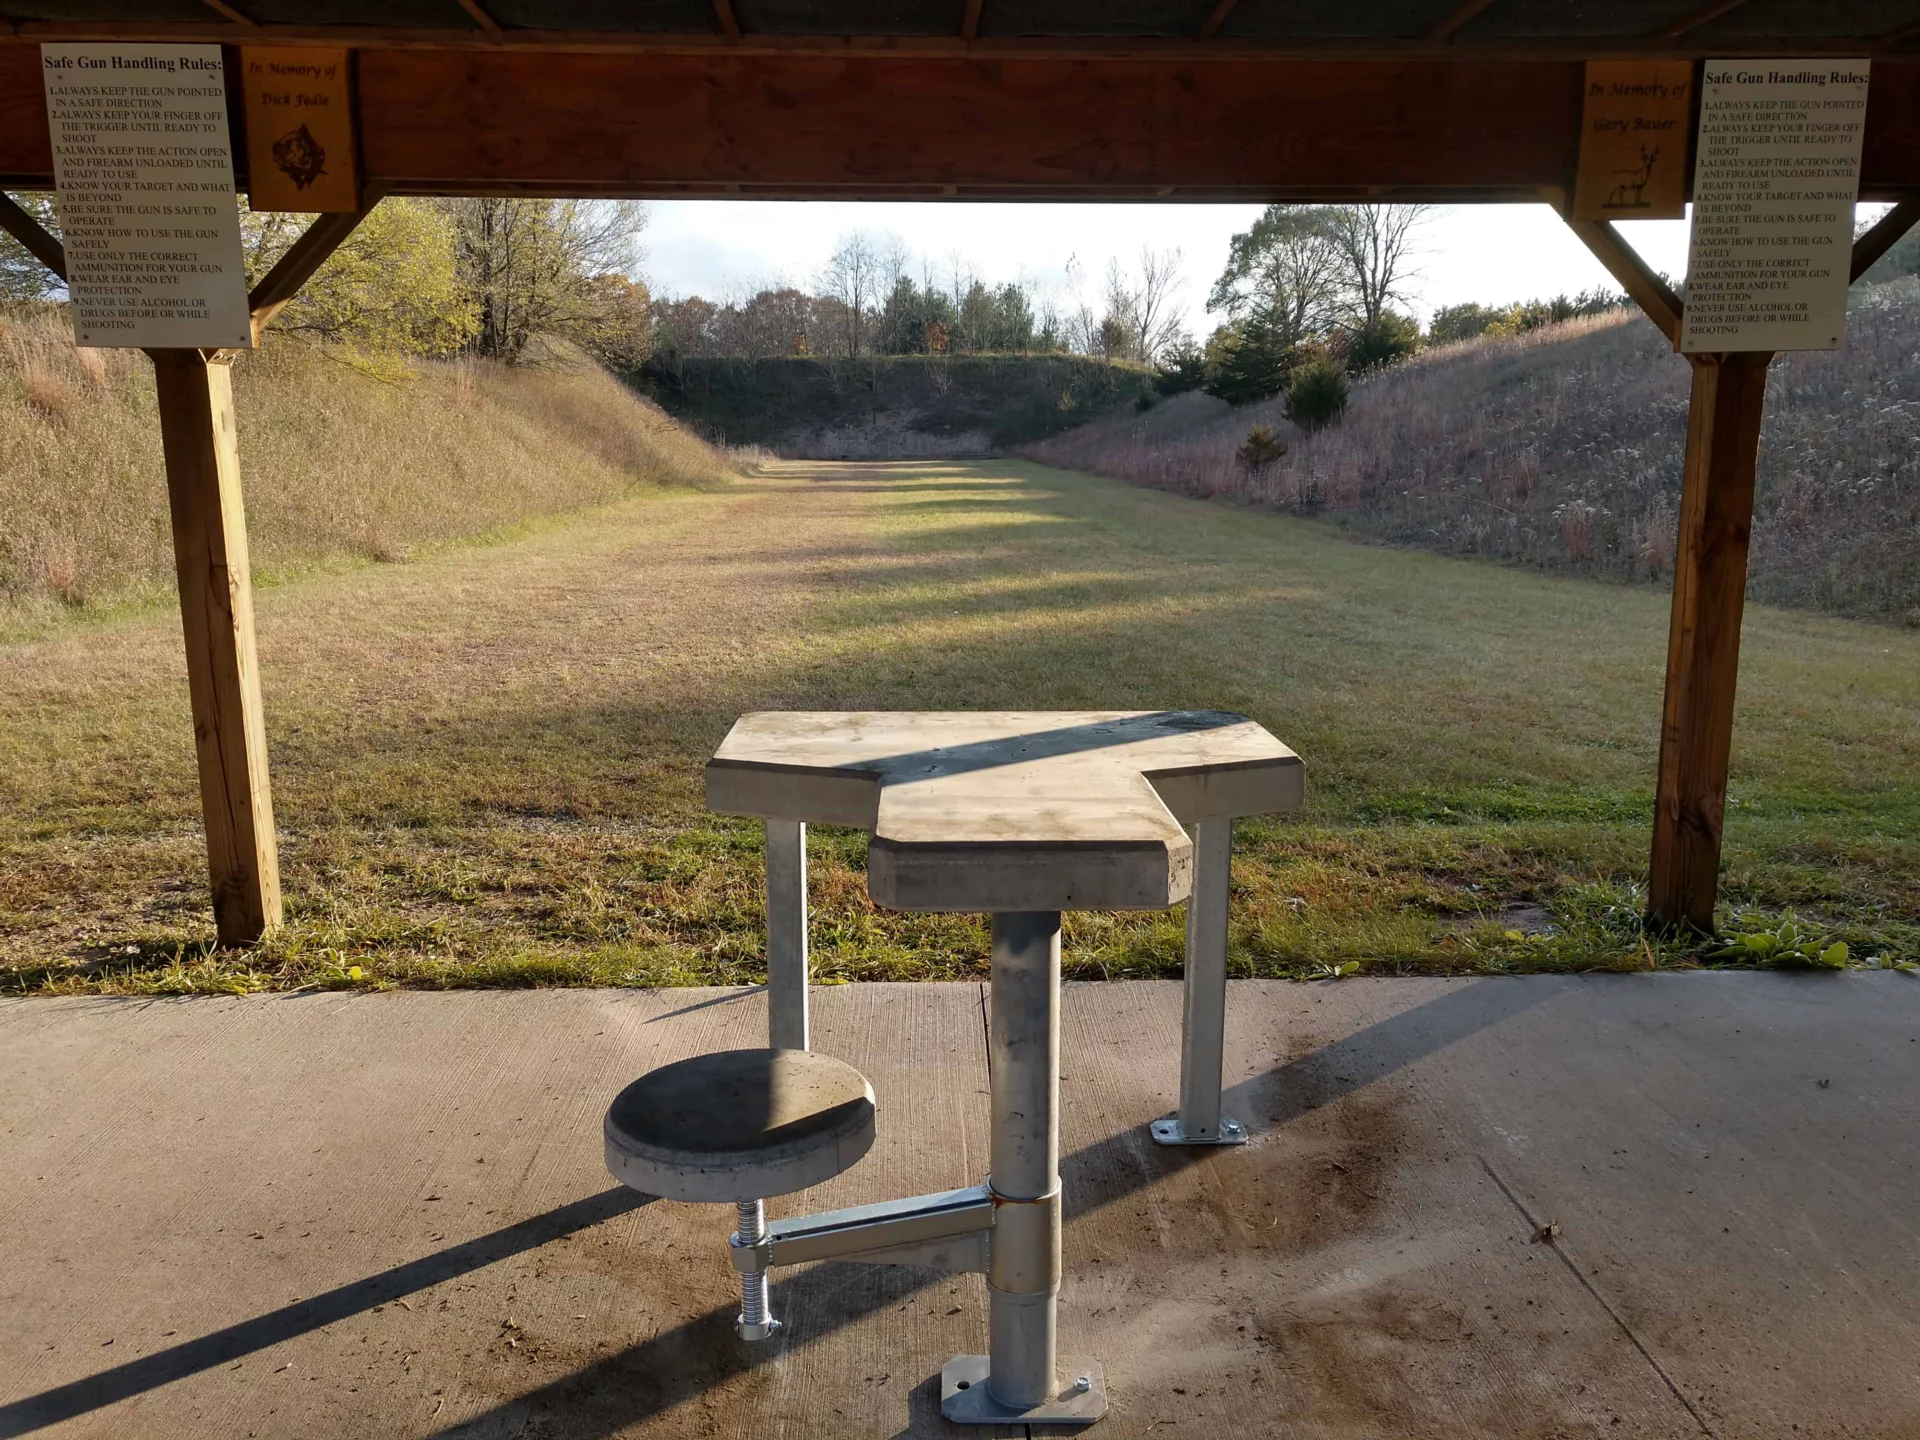
Check the Range Setup Beforehand
Is there space for prone shooting, or are you restricted to benches? Many rangers prohibit shooting from the prone position. Many ranges have the worst possible design for shooting benches ever. Bring along the tools that will help you best achieve your positioning in a comfortable manner, again a shooting mat, bipod, and bag of some sort. An Armageddon Gear Gamechanger Bag, or something similar, can be used for added stability and a solidly built position. You can also inquire as to how flexible the range is with letting you get comfortable. Often, I will pick the bench up and rotate it 180 degrees to gain access to the large flat backing, rather than forced into left-hand or right-hand configuration. This modification to what equipment you are given can make a world of difference allowing you to get more square behind the rifle.

The bottom line is once the goals are defined, you can start backfilling equipment, including clothing and food. If it’s going to be sunny, consider sunscreen and a hat; if it’s cold, dress in layers so you can stay comfortable as temperatures change. Hydrate well in advance—staying hydrated keeps your brain sharp, and helps with focus, allowing you to stay in the game for longer. A few snacks, like protein bars, can also help keep you fueled for a long day.
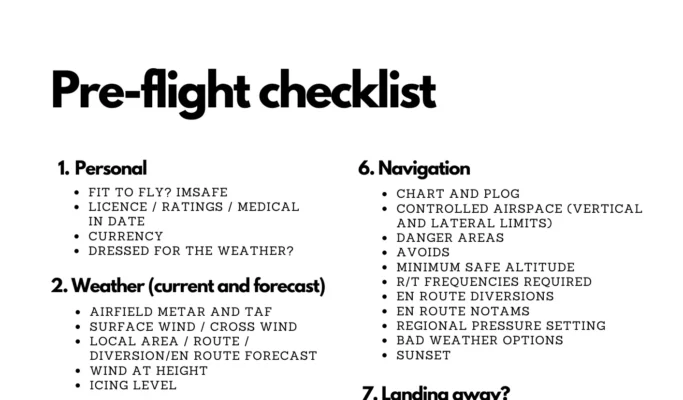
Make a Checklist and Check It Twice
It’s easy to forget something essential, especially if you’re bringing a lot of gear. Just like a pilot would, make a checklist and go through it to make sure you have everything you need before taking off. A checklist minimizes the chances of getting to the range and realizing you left something vital behind…like ammunition…It happens…More often than you think. I like to utilize Keep Notes (aka Google Notes) on my phone to have a checklist for each different type of range visit. These lists can also help mitigate you bringing too much gear and run a leaner load out.
Essential Items for Your Range Day
To help you pack effectively, here’s a checklist covering both basic and advanced gear that might come in handy. I have a range Backpack at the ready that contains most of these items to help things be consolidated in an easy-to-find location:
Safety
- Electronic Ear Protection – Protects hearing while allowing for clear range commands.
- Eye Protection – Always a must for safety. Eye replacement surgery just isn’t there yet.
- Sunscreen – Stay shielded from the sun.
- Protein Shake or Bar – Keeps energy up for a long day.
- Water – Essential for staying hydrated.
- 1st Aid Kit/IFAK Kit – Hope for the best, plan for the worst. Every time I’ve used a 1st Aid Kit on a range was for someone else who didn’t have one…from splinters to dirt in the dye to banged up knuckles.
Clothing
- Long Pants – Protects from ground debris when shooting prone.
- Hat – Stay shielded from sun
- Appropriate Shirt – We’ve all seen the wayward brass find its way down into the neck of a low-cut shirt, followed shortly by “ouch, it’s burning,” and then the subsequent flagging of nearly everybody. Don’t be that person. Or, use that burning sensation as a training opportunity to expand your mental fortitude.
Firearm
- Rifle/Pistol/Shooty-Shooty Pew Pew
- Magazines – Enough to avoid constant reloading.
- Many will keep a magazine in the magwell and handload each round when doing round development to keep rounds and casings organized. This is also a good way to slow the rate of fire and ensure your are being deliberate throughout the whole process.
- Chamber Flag – Shows others your rifle is clear.
- Clearly Labeled Ammunition – Avoid mix-ups by marking ammo types.
- I have clearly labeled ammo in MTM ammo boxes with the recipes clearly labeled. I will even write Charges or Seating depths on each casing to make sure I am following along correctly through a string of fire.
- Bipod – Support option.
- Armageddon Gear Gamechanger Bag – Adds stability in various shooting positions.
- Rear Bag – For your support hand.
- Tripod – For positional shooting exercises, if allowed. Also to be used by others when spotting for you.
Tools
- Tool Kit (Fix-It Sticks or similar) – Bring tools to adjust screws, bolts, or optics.
- Plummet – Ensures true vertical reference for your reticle. We think it’s important. It’s kinda our Logo and Company name.
- Range Finder – Sometimes 100 yards is not always 100 yards. If you’re shooting as exacting as ¼ MOA groups, knowing specificity of distance won’t hurt you. This will also help you to accurately enter zero offset data in your Kestrel for more refined firing solutions.
- Levels (small and long) – For setting up your rifle and scope and even targets
- Extra Batteries – For any electronic devices you bring.
- Battery Pack and Charging Cables – For phones, GPS, or electronic gear
- Shooting Mat – Essential for comfort during prone shooting
- Spotting Scope – is helpful if you have someone calling your shots or giving an extra opinion. However, a good instructor will pay more attention to what’s happening on the rifle throughout the firing process rather than the end result on paper, the target size, and where it I,s only confirms what they are seeing.
Data
- Shooting Journal – Track what you did, insights, and takeaways for next time
- Kestrel Weather Meter – Tracks environmental conditions like wind, humidity, temperature, and station pressure
- Chronograph – Measures bullet velocity, which is helpful for load development and drop chart development. These aren’t the Gospel, as you should always confirm at distance, but these are invaluable at determining the quality of ammo and load development.
- Markers – These are important for marking and tracking shots on a target. Utilizing different colored markers and shapes while grouping can help to tell a story over several groups and highlight opportunities for improvement.
Tips to Make the Most of Your Range Day
Set up Early: Get to the range with enough time to set up your area, unpack your gear, and go through your checklist. It’s also good to get your bearings at a new location, bathrooms, vending machines, where the guys who shoot .50BMG with muzzle brakes tend to set up… IF your range sells blocks of time, this will assure that you aren’t wasting valuable time getting your act together.
2. Stay Organized: Use a range bag with compartments for easy access. It’ll keep everything tidy and accessible. Avoid the spread of gear, it’s how you’ll forget things, and sometimes things can go for a walk.
3. Be Patient and Observe: It’s cool to take your time, see what everyone else is doing, and fall into the fold. Having situational awareness of what’s taking place is good. You might want to take note of the current situation to avoid unloading your gun when the range is cold. Have a plan on how you’re going to take your rifle out of its case without flagging anyone. (This is an underrated suggestion for new and experienced shooters.)
4. Respect Other Shooters: The range is a shared space. Always be courteous, maintain safety protocols, and clean up your area before you leave.
5. Stick with the Plan: You came to accomplish a mission. Stick with that mission. It’s akin to going to the golf driving range to work on your wedges, and after 10 swings you’re bombing your driver to work on your slice. If you are zeroing, ensure that you have accomplished your zero. Take a break, grab a water, let the barrel cool, then shoot another string. There are many things you can do while zeroing, including natural point of aim, seeing your shot, follow-through, recoil management, breathing, and trigger press are all items to work on through this exercise, further cementing good fundamentals while zeroing is paramount. A 5-shot group should take a decent amount of time to execute, not 45 seconds.
A well-prepared range trip leads to a productive shooting session, and these tips can help you gain valuable insights on starting off on the right foot for preparing and showing up to the range. Whatever your experience level, showing up with a clear purpose and the right gear will help you make the most of your time. From this article, we will pick up on the actual rifle zeroing process further elaborating on the Goals of the trip and things to consider to help you become a more intentional shooter.